To understand what AutoFollowUp is and how you can leverage it check out this guide: https://help.pitchlane.com/article/126-what-is-autofollowup
In order to set up an AutoFollowUp in Reply.io, you will need two campaigns:
1.) Your "Main" campaign - this is the normal sequence which sends out your Pitchlane video for prospects to view.
2.) Your "AutoFollowUp" campaign - this is the sequence you will send out to leads as soon as they've viewed their Pitchlane video
1.) Set up your AutoFollowUp Campaign

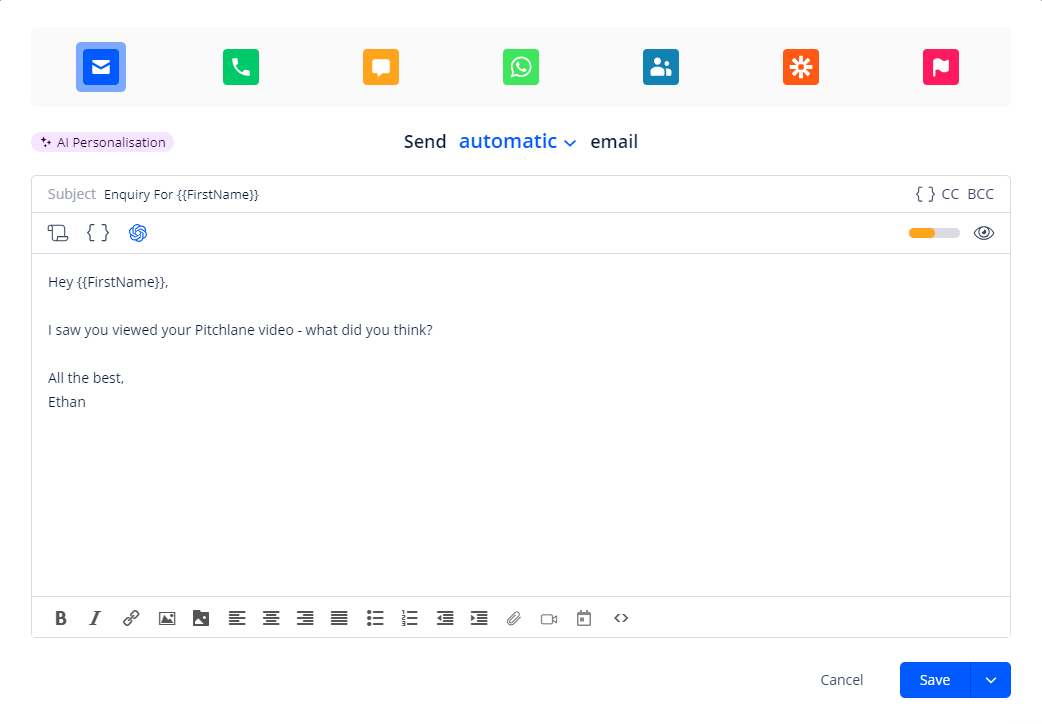
2.) Craft your response for your AutoFollowUp Campaign
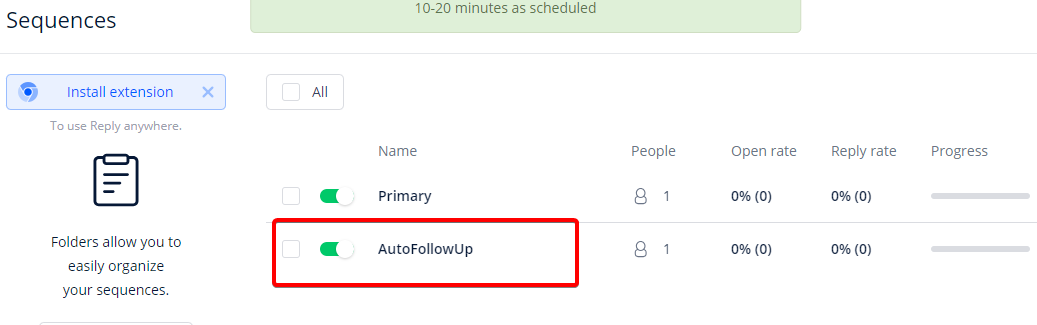
3.) Turn on your AutoFollowUp Campaign (Don't worry if it says, "Add Prospects to your Campaign", if the check box is red, you will need to come back and check the box again, after you have completed the setting up of the zap.
4.) Open up our AutoFollowUp Zap Template: https://zapier.com/app/editor/template/1671269
5.) Connect your Pitchlane Account:
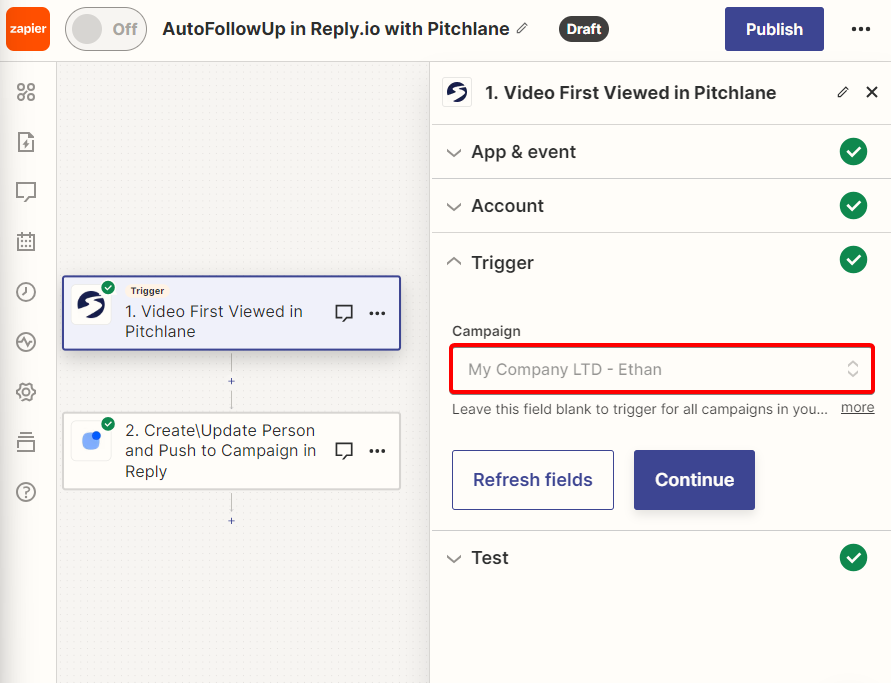
6.) Select the Campaign you are using to generate your Pitchlane Videos
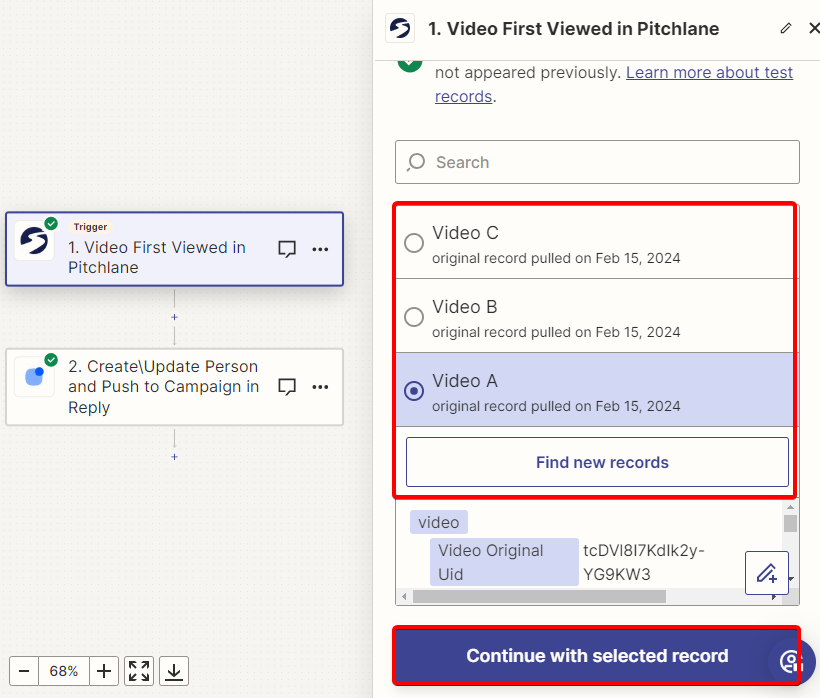
7.) Select a Pitchlane video record to use as a placeholder for the next step
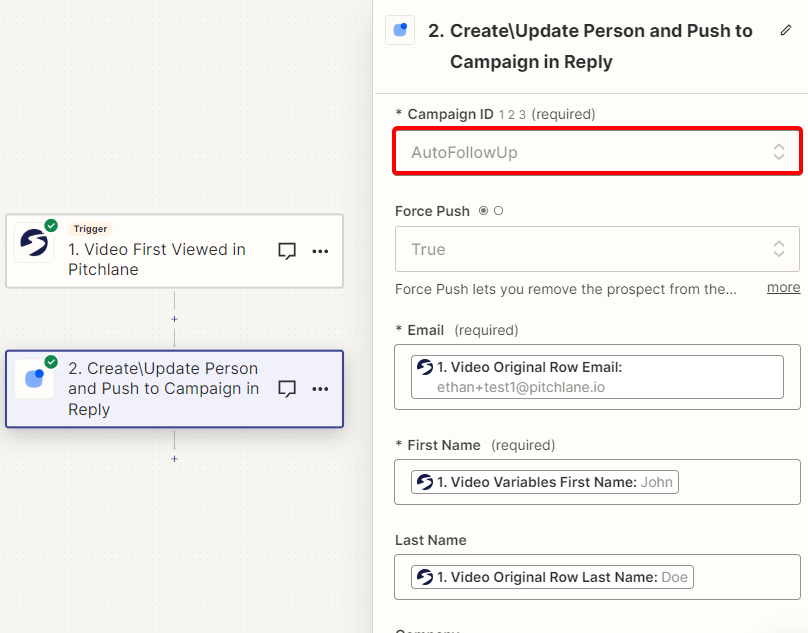
10.) Select the Reply.io Action & Choose your AutoFollowUp Campaign
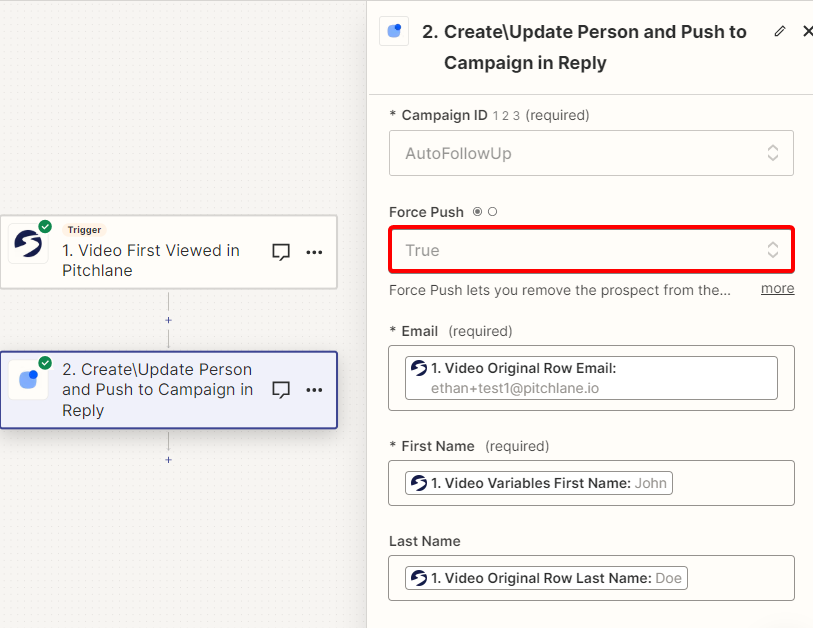
11.) Ensure that "Force Push" is set to true
12.) Ensure that the remaining fields are populated correctly

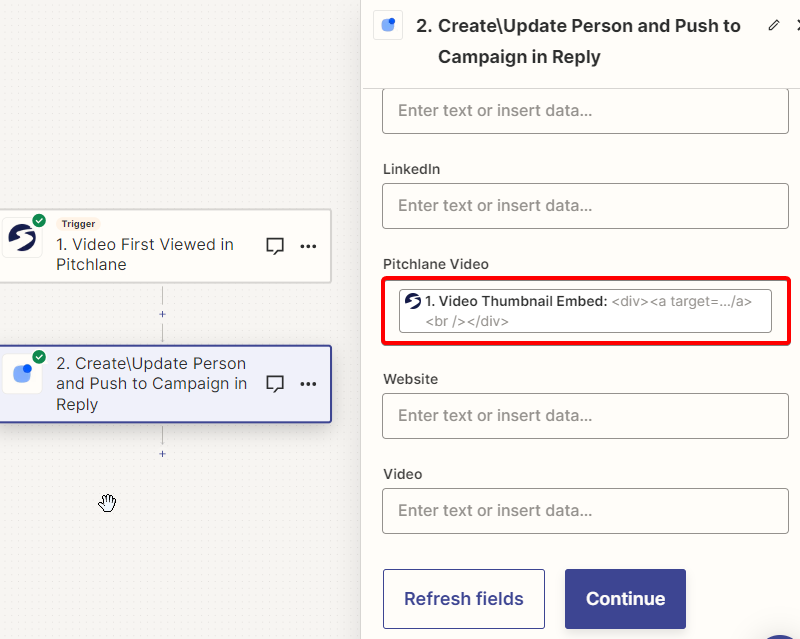
13.) Validate that your Custom Variable you created for your Pitchlane video is assigned correctly
14.) Select Test then hit Publish!
Calendly: https://zapier.com/app/editor/template/1671290
SavvyCal: https://zapier.com/app/editor/template/1671297
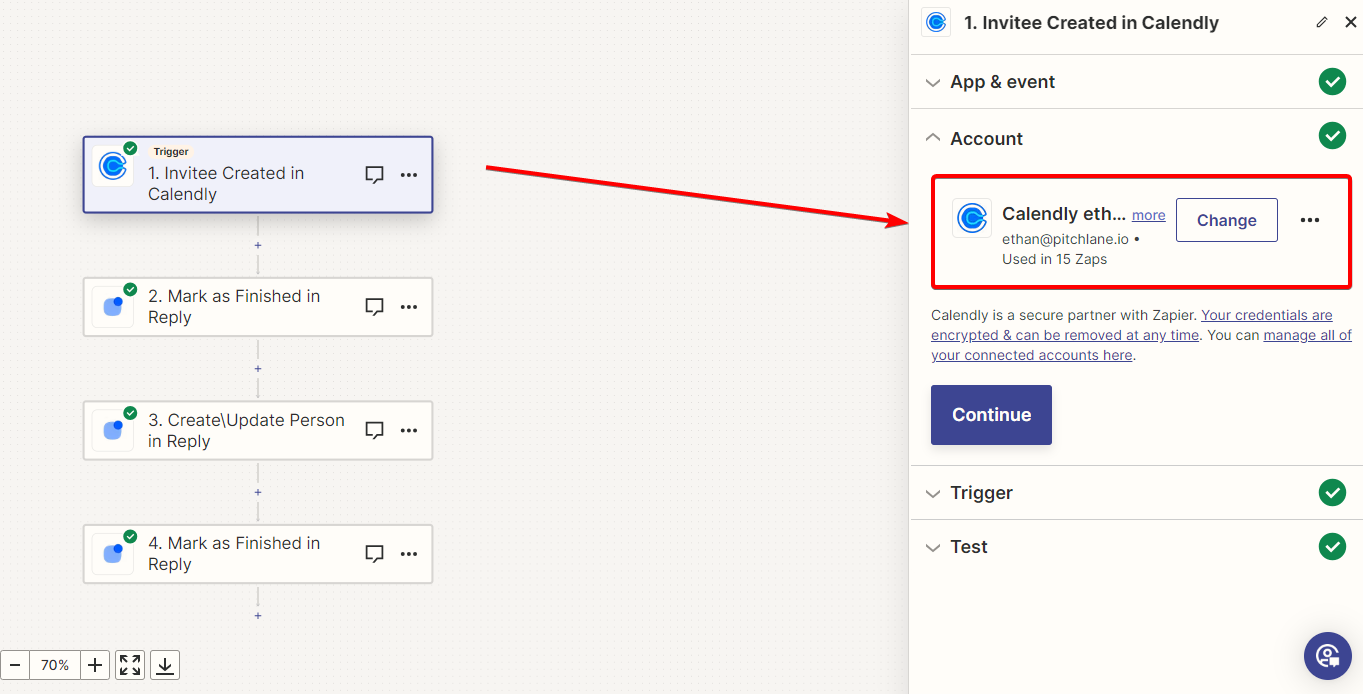
1.) Select your Savvycal/Calendly Account
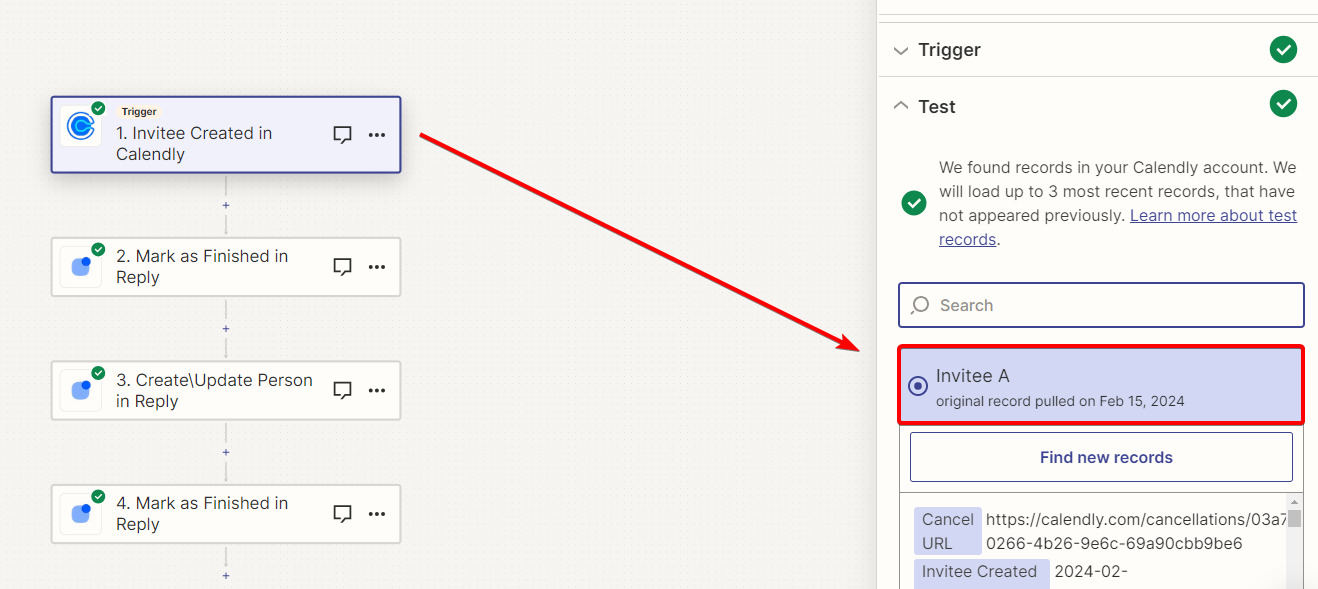
2.) Select an invitee to test with (This will have to be a client which has been added to your campaign. If you do not have one, you can create a placeholder prospect which you can add to your campaign and create a test calendar booking with).
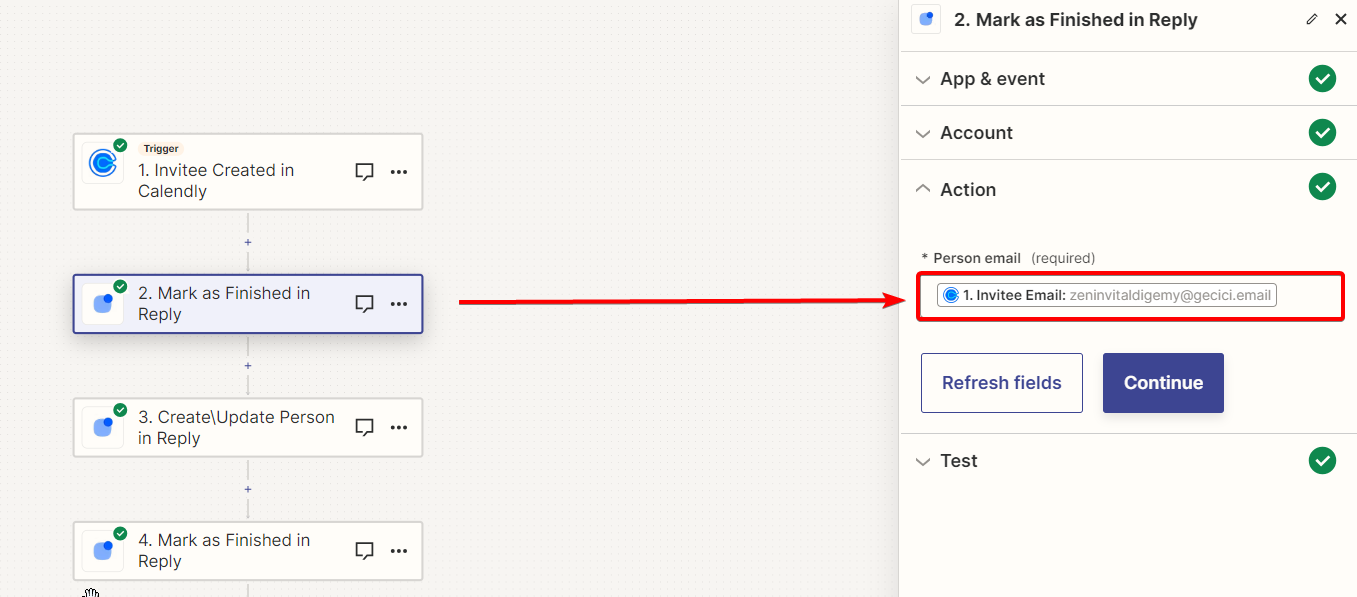
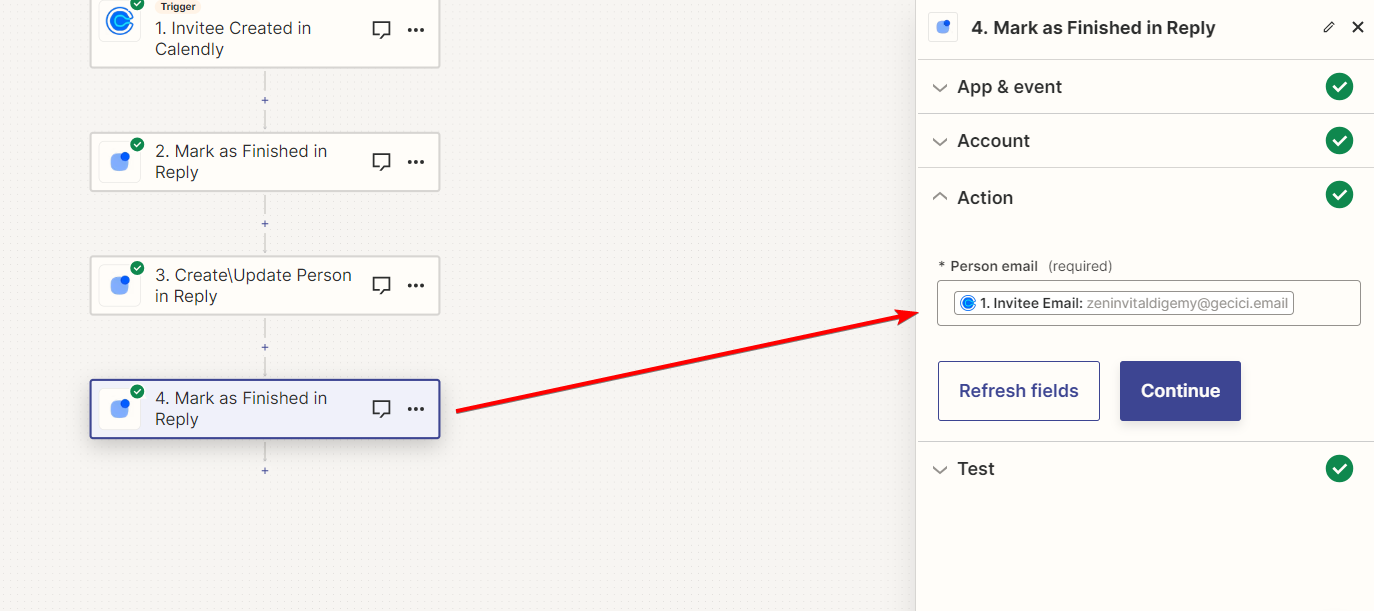
3.) Select the next action titled, "2. Mark as Finished in Reply" and select the Invitee Email.
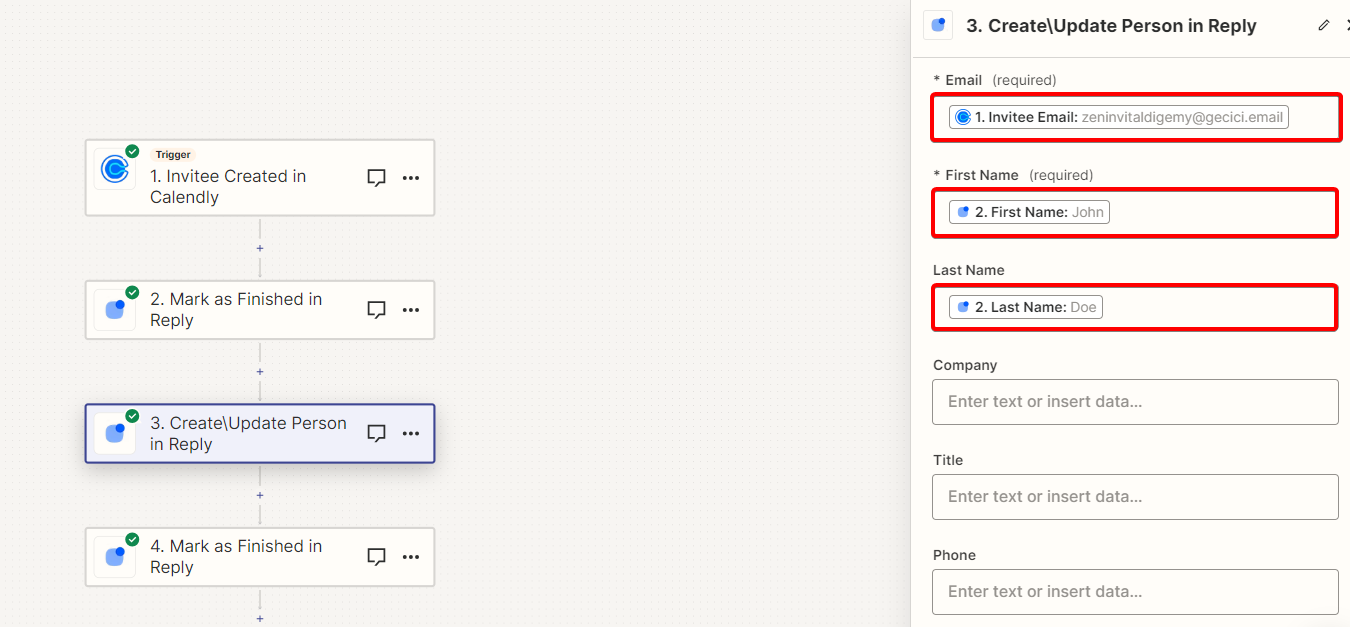
4.) Select the next action bock titled, "3. Create/Update Person in Reply" & Select your AutoFollowUp Campaign and Ensure that ForcePush is set to "True".
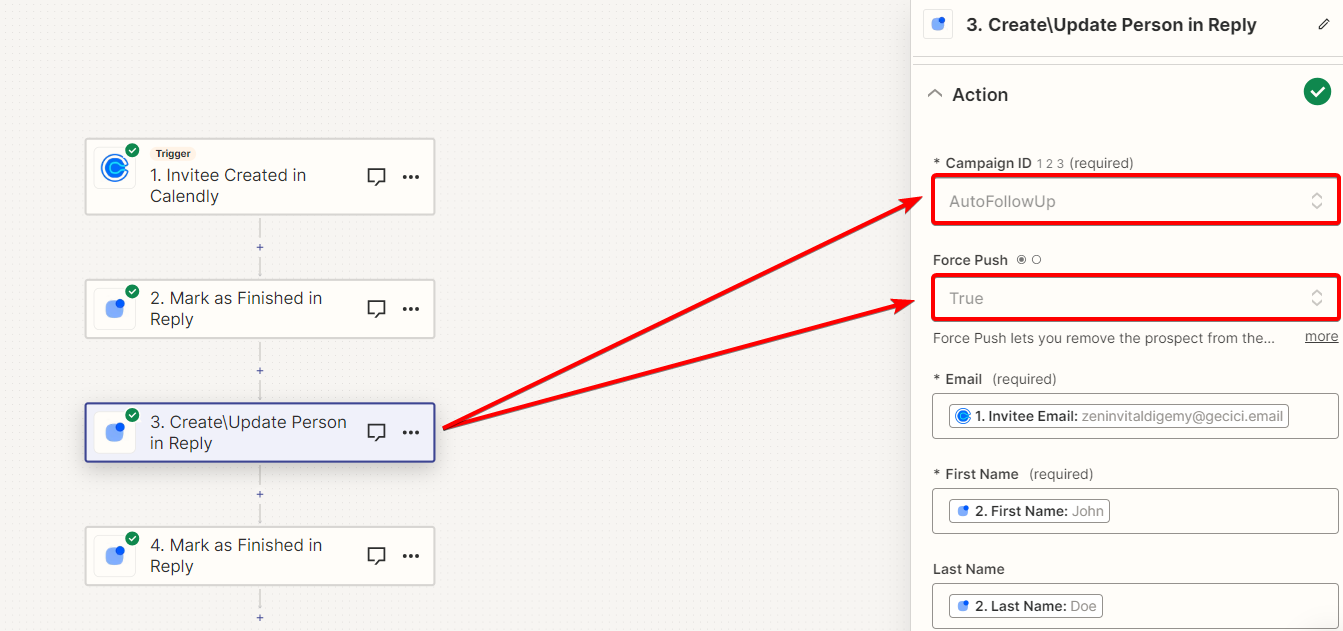
5.) Ensure that the following fields are populated correctly. Note: the Email field should be populated with information from Calendly, and the name, company and other assorted information should be populated from Reply.io
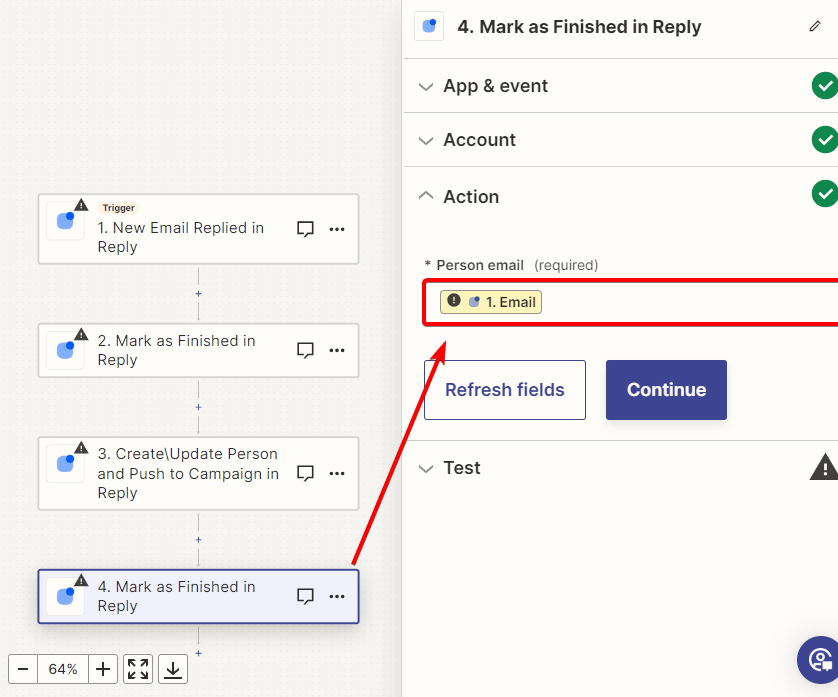
6.) Select the final action and ensure the Email field is populated correctly.
7.) Hit Publish!
Use our Template: https://zapier.com/app/editor/template/1671299
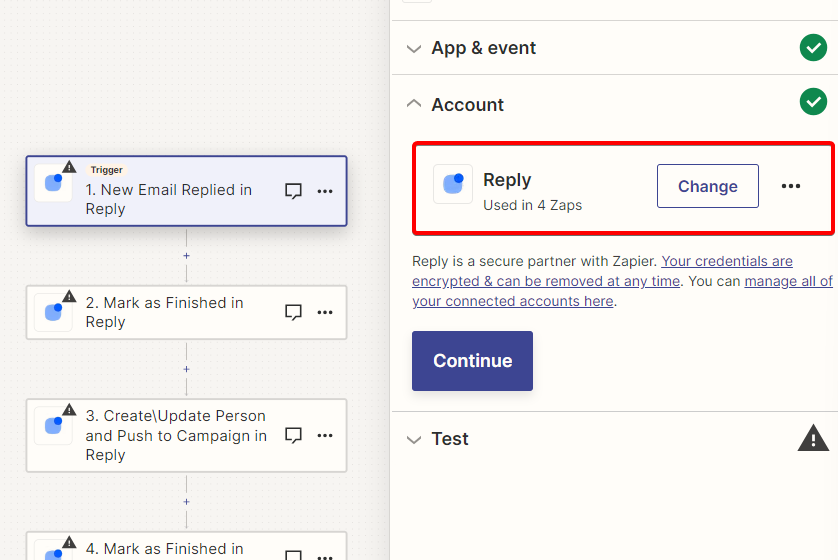
1.) Link your Reply Account
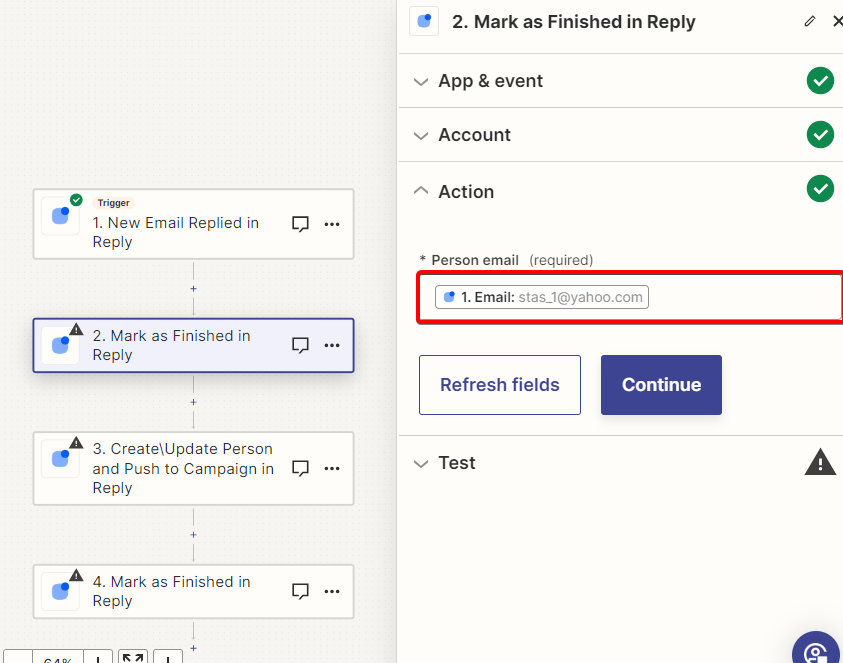
2.) Select the next action block and populate the field.
3.) Select the next action block titled, "3. Create\Update Person and Push to Campaign in Reply" and select your AutoFollowUp Campaign and ensure "Force Push" is set to "True"
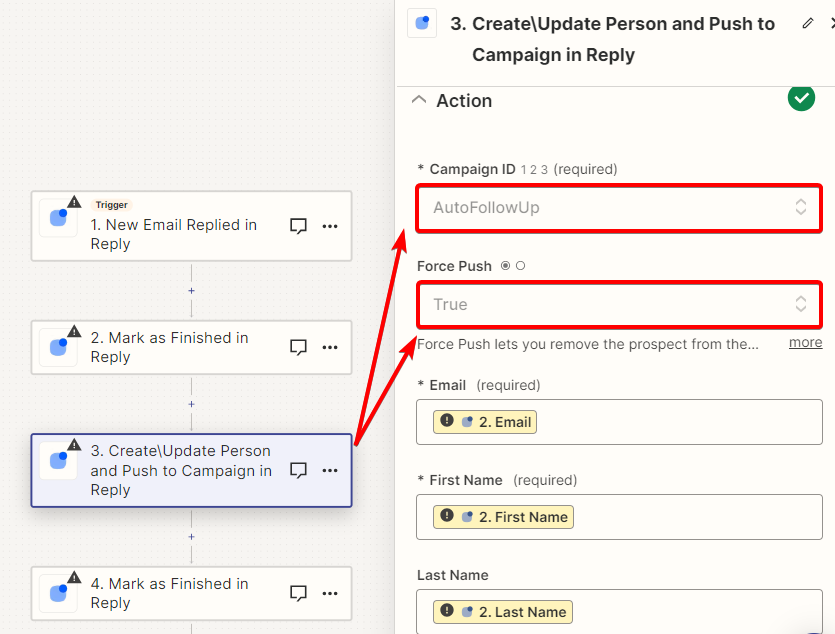
4.) Populate the field with accordingly
5.) Hit Publish!