NOTE: You need Hubspot Sales Hub Enterprise in order to follow this guide.
This guide relies on set up explained in the previous guide which can be found here: https://help.pitchlane.com/article/115-how-to-use-pitchlane-with-hubspot
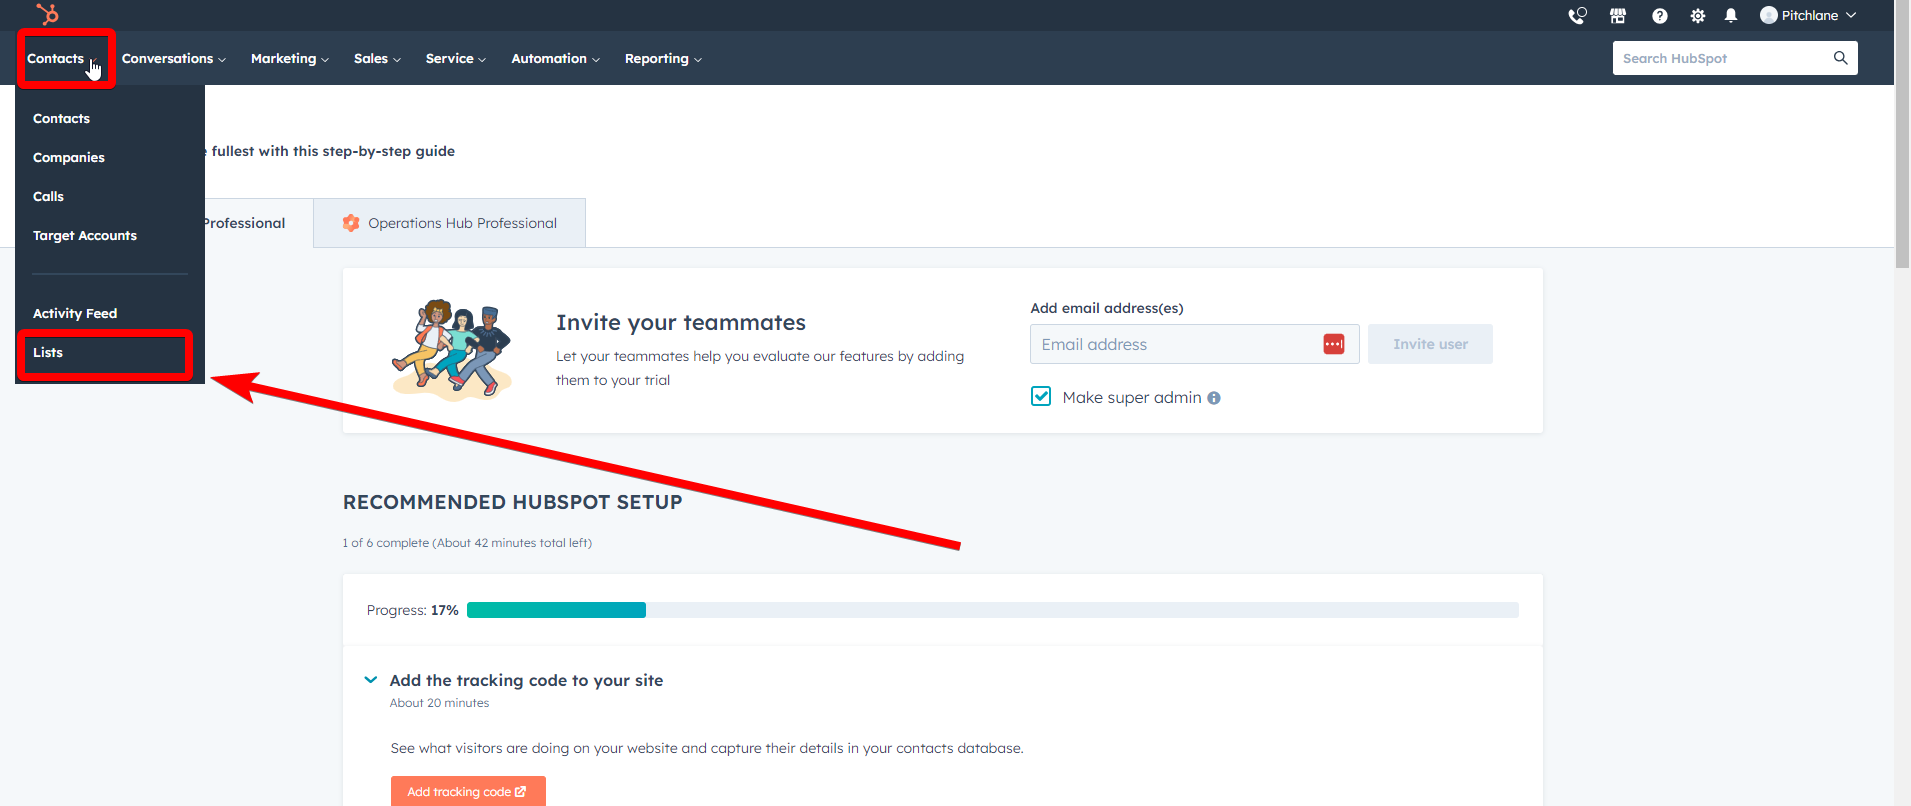
1.) Open Hubspot and navigate to the list menu
2.) Create a new static list
3.) Navigate to the "Workflow" section of Hubspot.

4.) Create a new Workflow from Scratch. Select "Contact-Based".
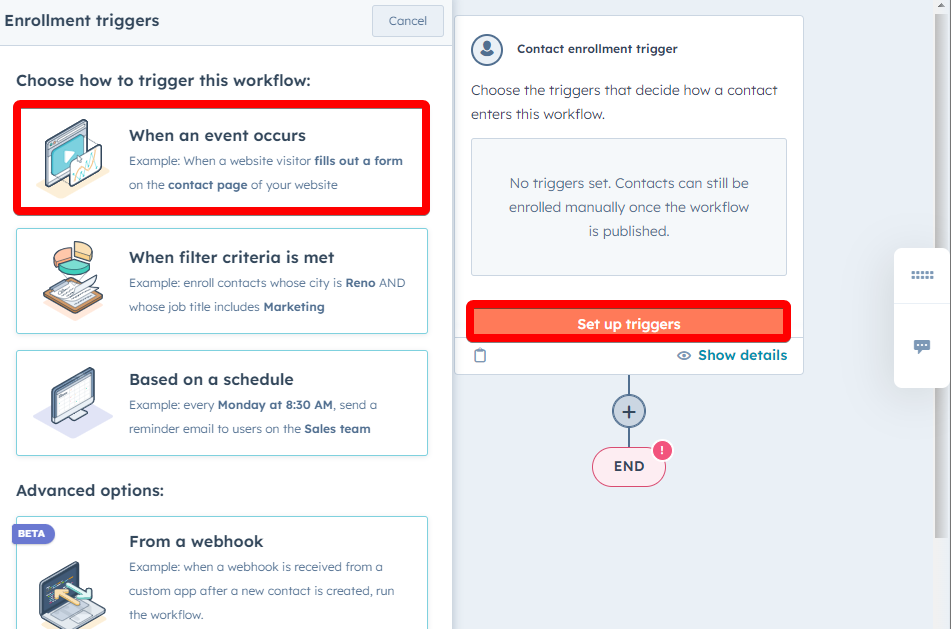
5.) Select "Set up triggers" & Select "when an event occurs"
6.) Select "List membership changed" & select the list you created.
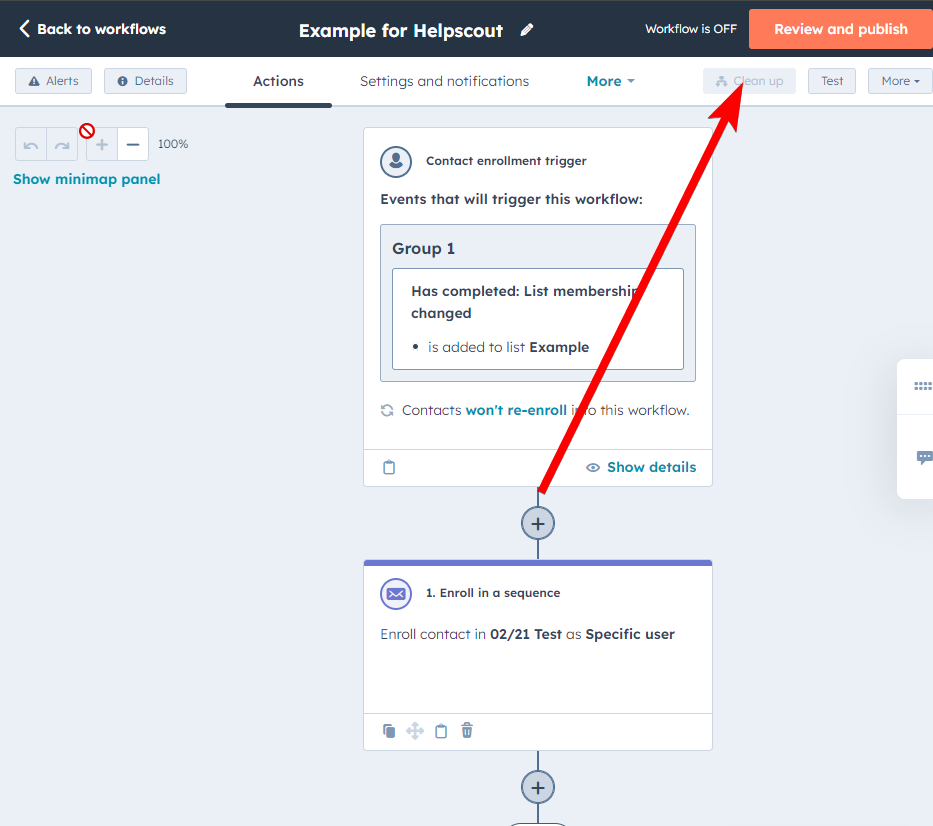
7.) Select the "+" button and select "enroll in a sequence" and select your outreach sequence.
8.) Select Review and Publish; ensure that the workflow is switched on.
9.) Open our Zapier Template: https://zapier.com/app/editor/template/1676302
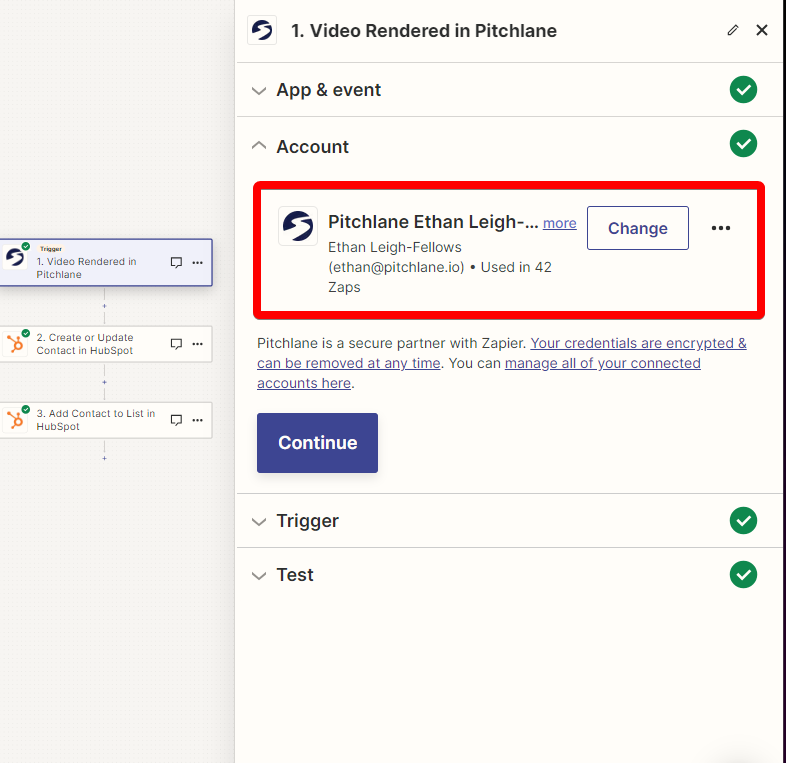
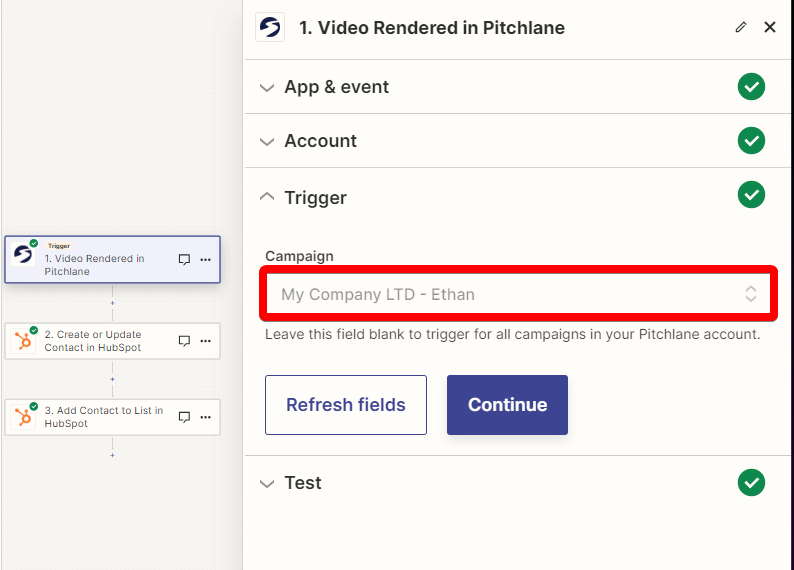
10.) Select the trigger titled, "1. Video Rendered in Pitchlane" and Sign into your Pitchlane Account
11.) Select your Pitchlane campaign
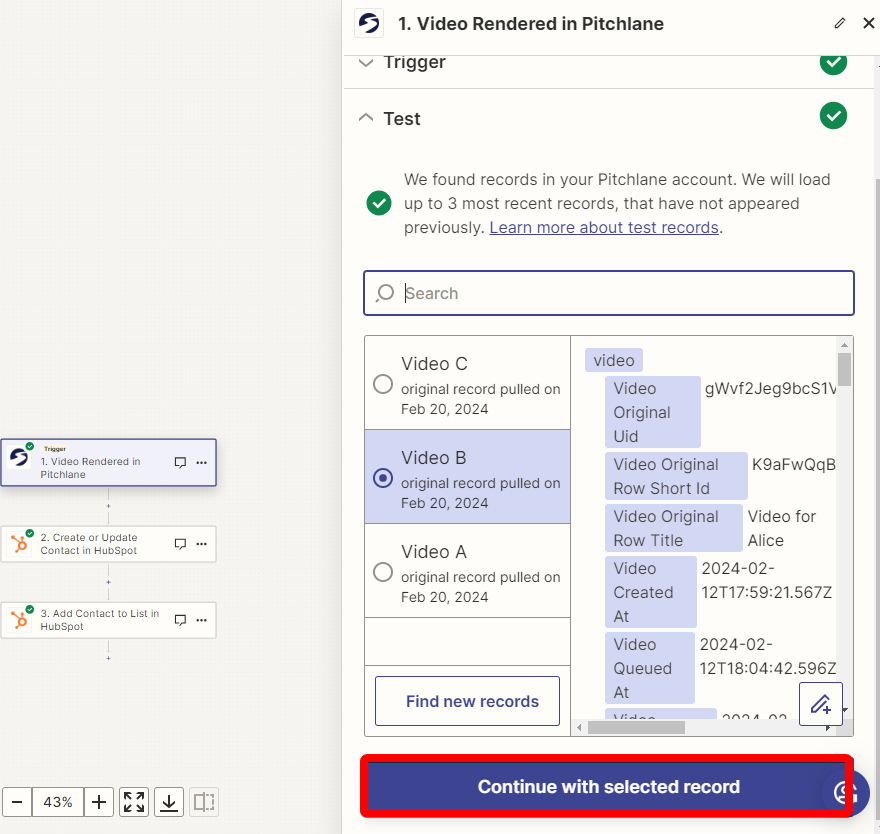
12.) Select a placeholder to use Note: select a record/prospect which has not already been imported into your contact list in Hubspot.
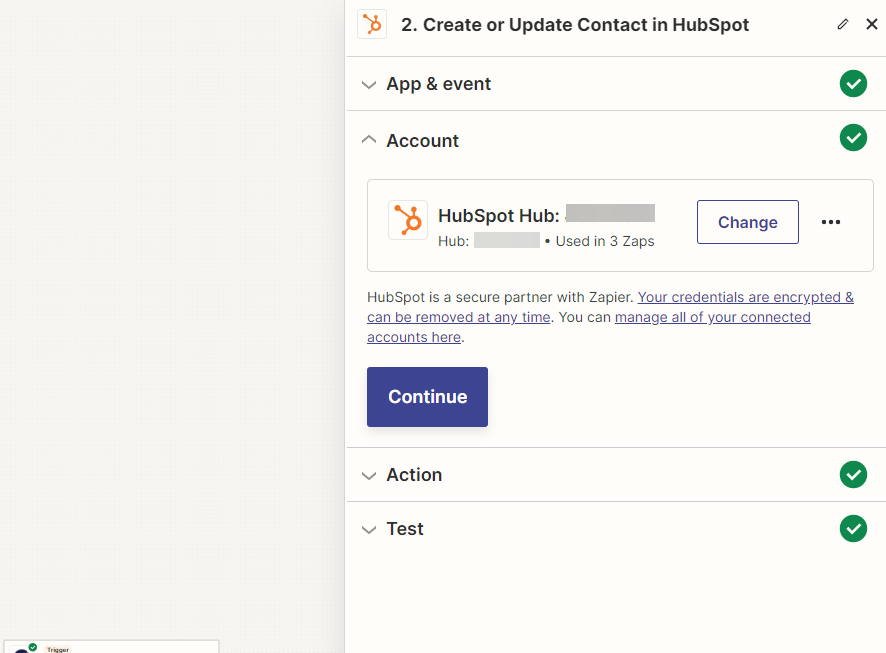
13.) Select your Hubspot account
14.) Map the fields accordingly. Ensure the thumbnailEmbed field is mapped. If you are missing the thumbnailEmbed field follow this guide.
15.) Test the action and select the action titled, "3. Add Contact to List in Hubspot"
16.) Ensure the fields are mapped accordingly
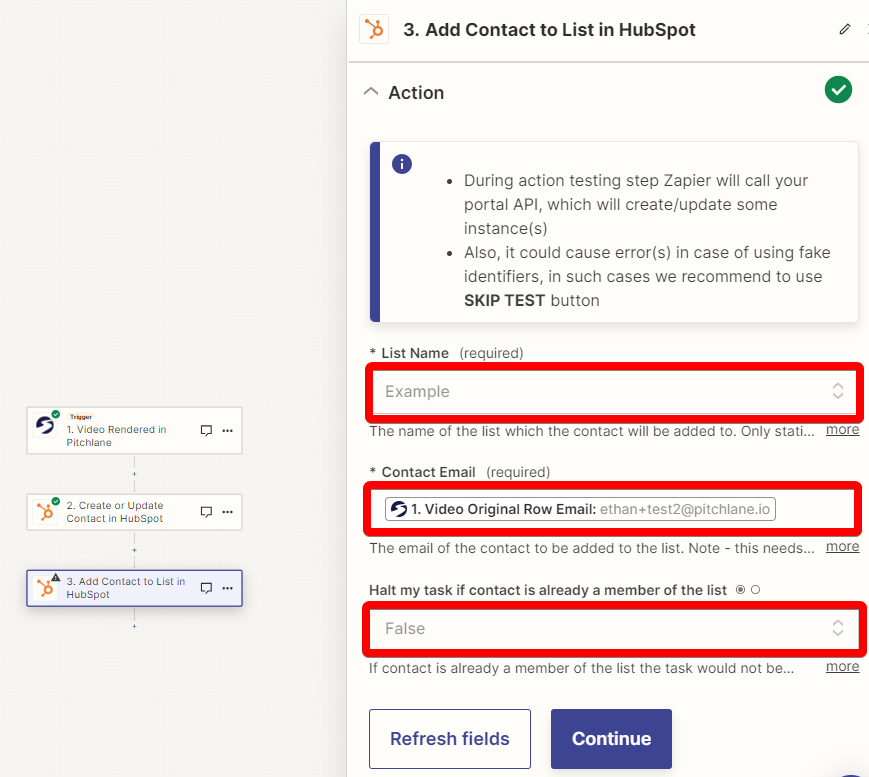
17.) Hit Publish!
